You’ve just downloaded the CWO Photo plugin and you need help to fill out this form ?
In this article we will see together all the steps in order to get a Client ID and a Client Secret.
In order to easily follow the instructions, we advise you to open it in new tab at the same time as you complete configurations steps.
I. To begin, go to console.developers.google.com.
1- Then log in with a Google Account.
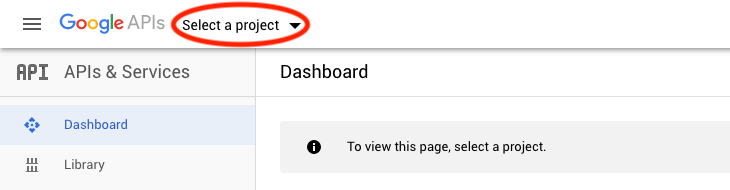
II. Go on « Select a projet »
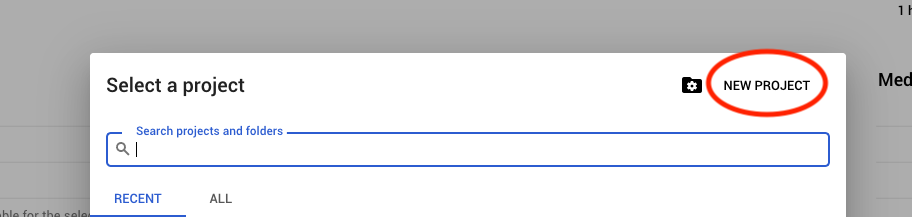
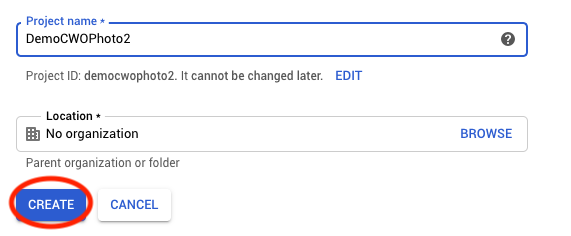
1- Do « New Project »
2- Name it
3- Do « Create »
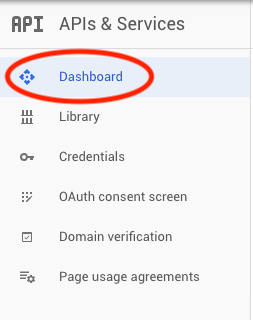
III. Think of enable Google Photo API for your project by going in the « Dashboard » menu
1- Click on « Enable APIS and services »
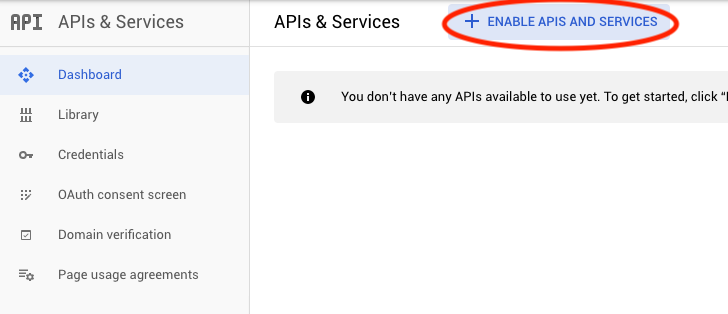
2- In the API Library, look for « Photo Library API »
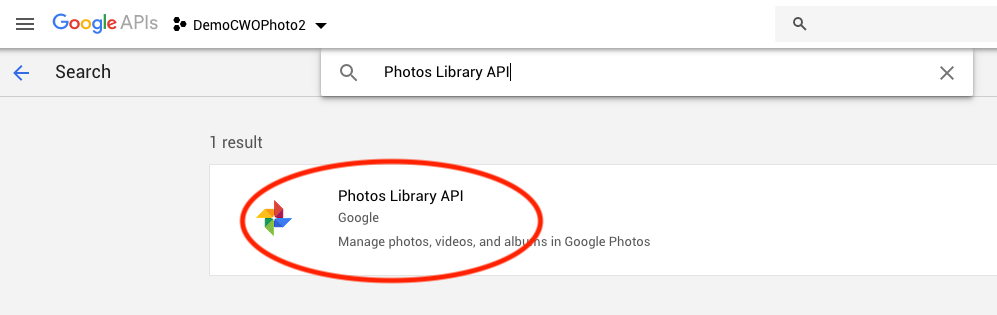
3- Enable « Photos Library API »
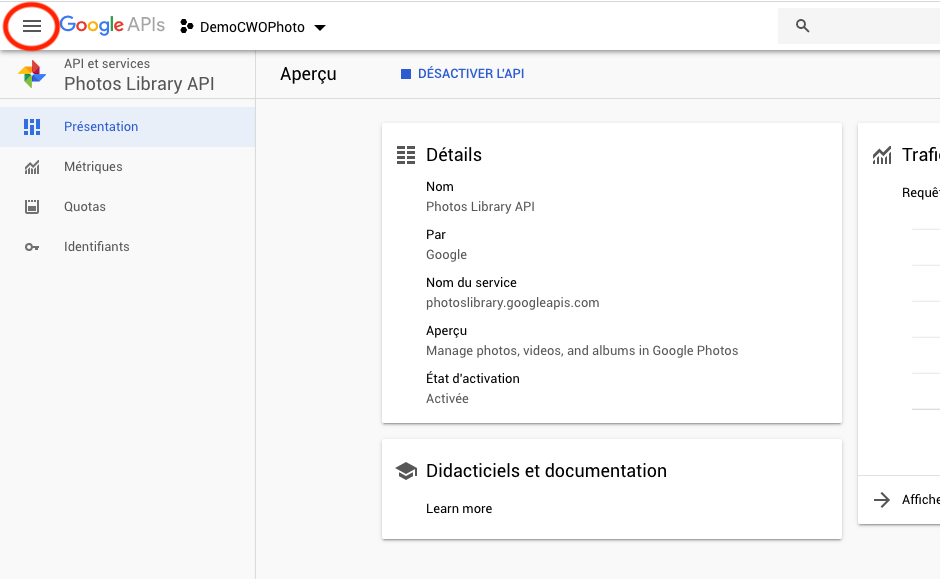
4- Once the API is enabled, click on the icon as below to come back to the main menu
5- Go on « API and services »
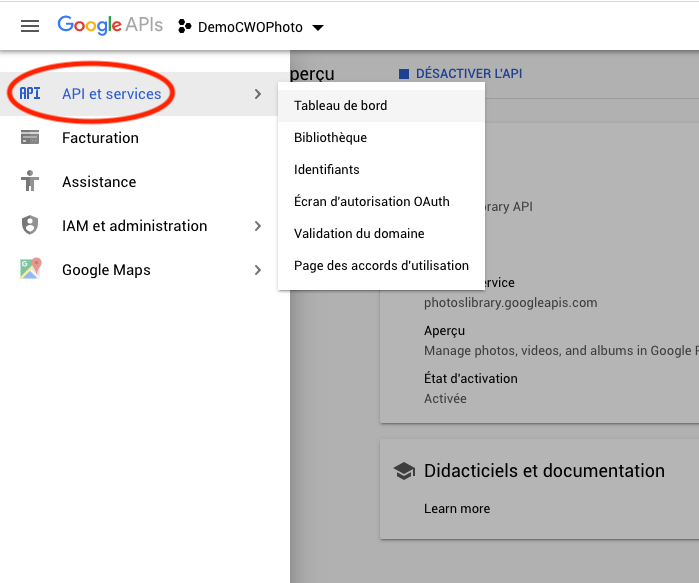
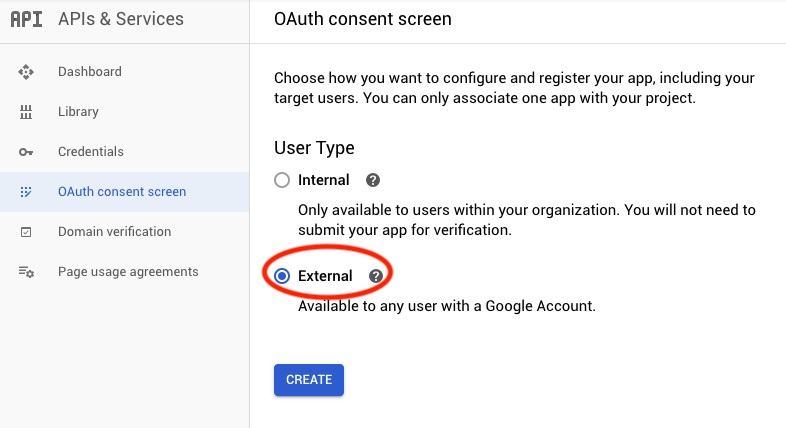
IV. Go to the « OAuth consent screen » menu

1- Choose « External »
2- Do « Create »
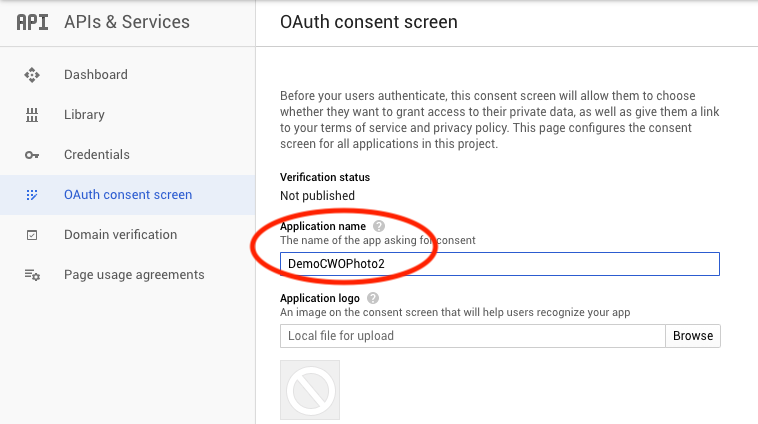
3- Now choose the name of your application
4- Below insert the « Authorized domains » and then press “Enter” to validate your seizure
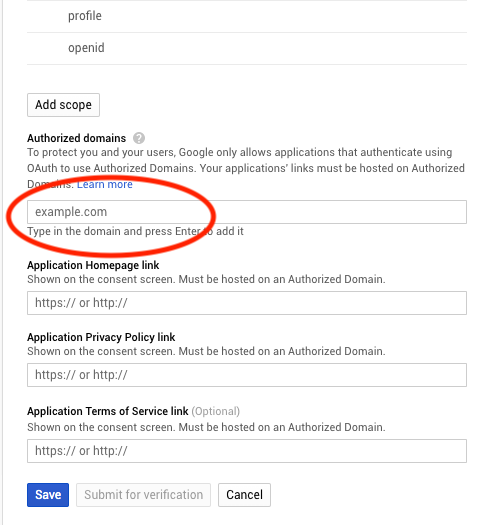
5- Do « Save »
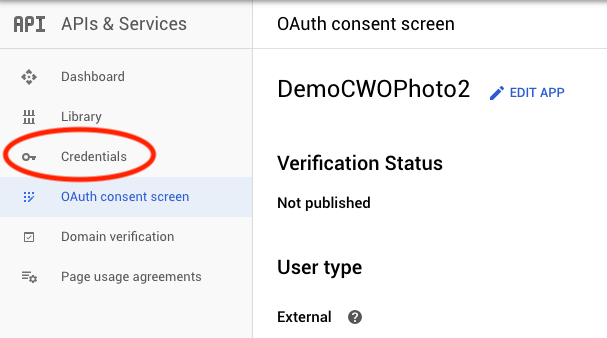
V. Now go to the « Credentials » menu
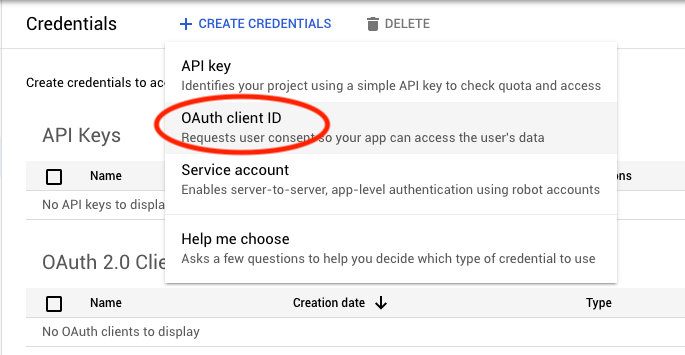
1- Do « Create Credentials »

2- Choose « OAuth client ID »
3- For the Application type, choose « Web Application » and give it a name
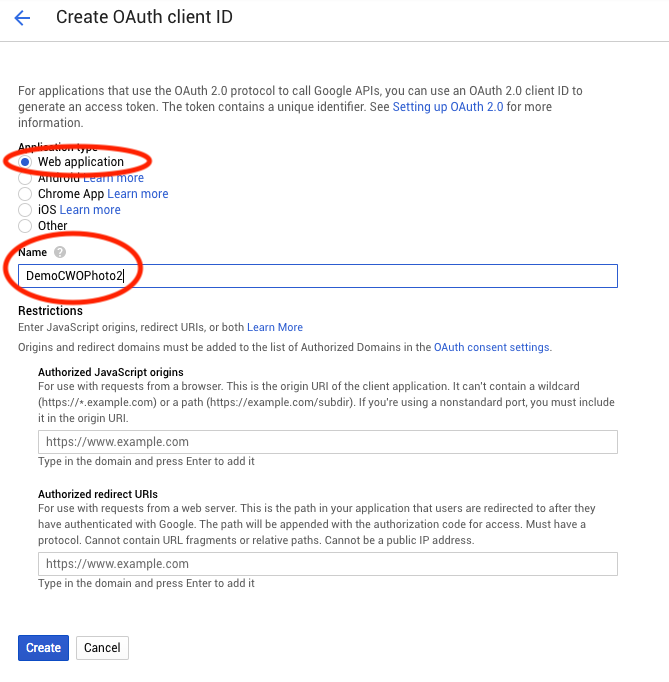
4- Do « Create »
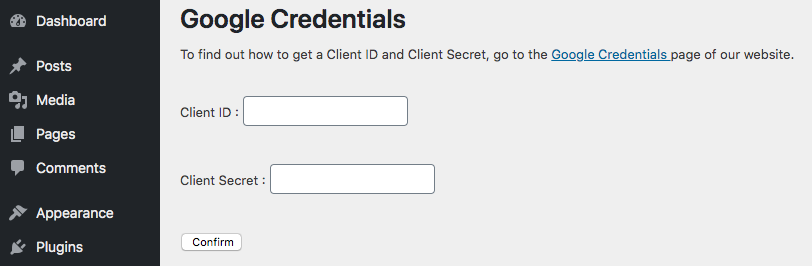
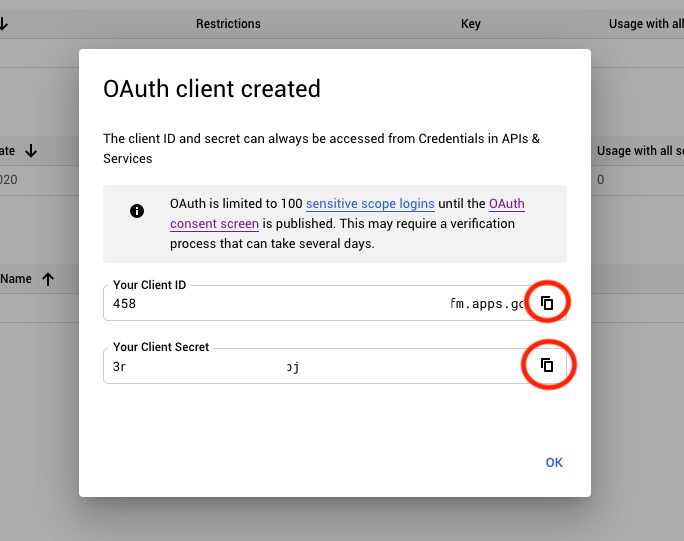
5- Your Client ID and Client Secret should display. You can easily copy them by clicking on the button “copy”
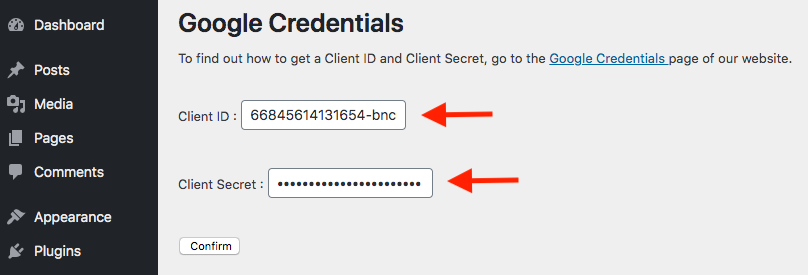
6- Paste it in the form provided for that purpose on the plugin page
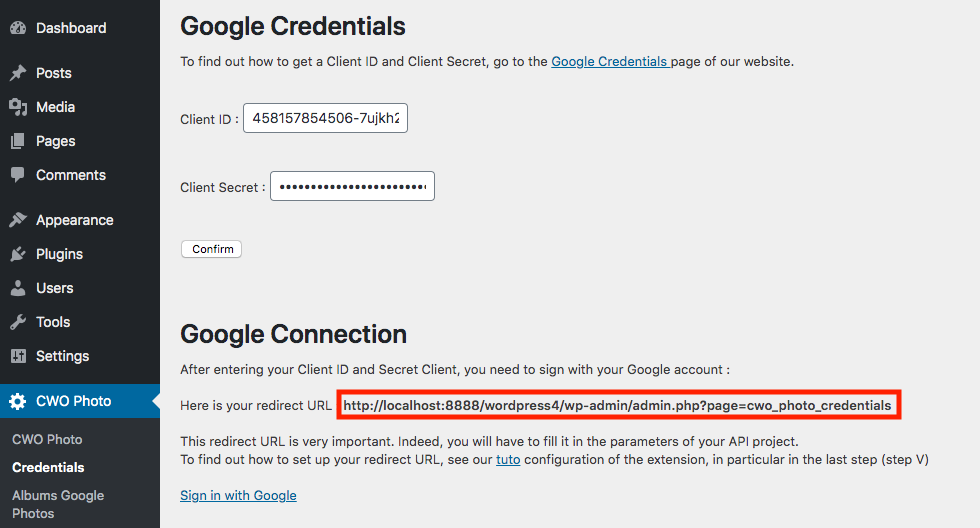
7 Now you will see a redirect URL display on your screen. BEFORE YOU LOG IN WITH GOOGLE, you will have to define this redirect URL in your API project. For this, go to the « Credentials » menu
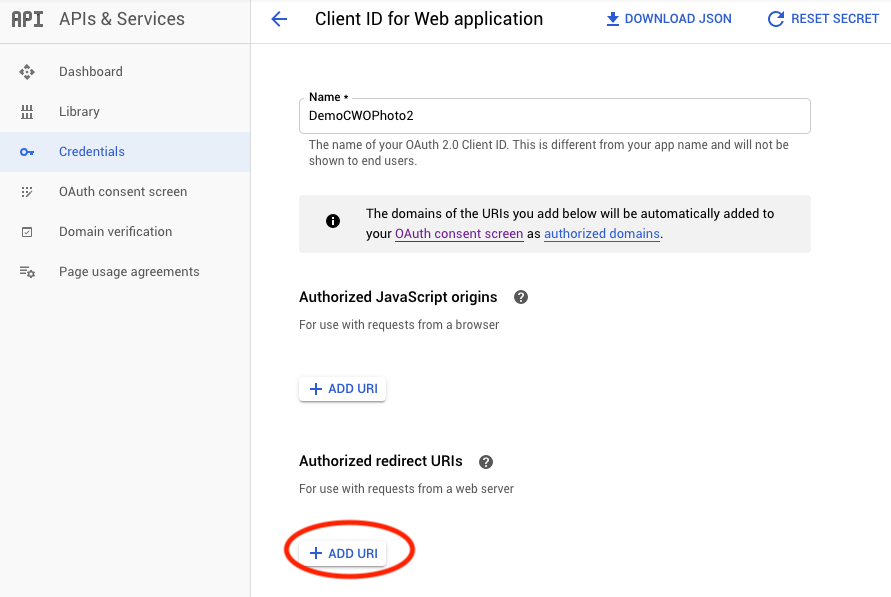
8- Then click on the “Modify” button symbolized by a pen

9- Click on « Add URI » in the « Authorized redirect URIs » section
10- Now copy the redirect URI you received on the plugin after filling your credentials
11- And paste it as shown bellow
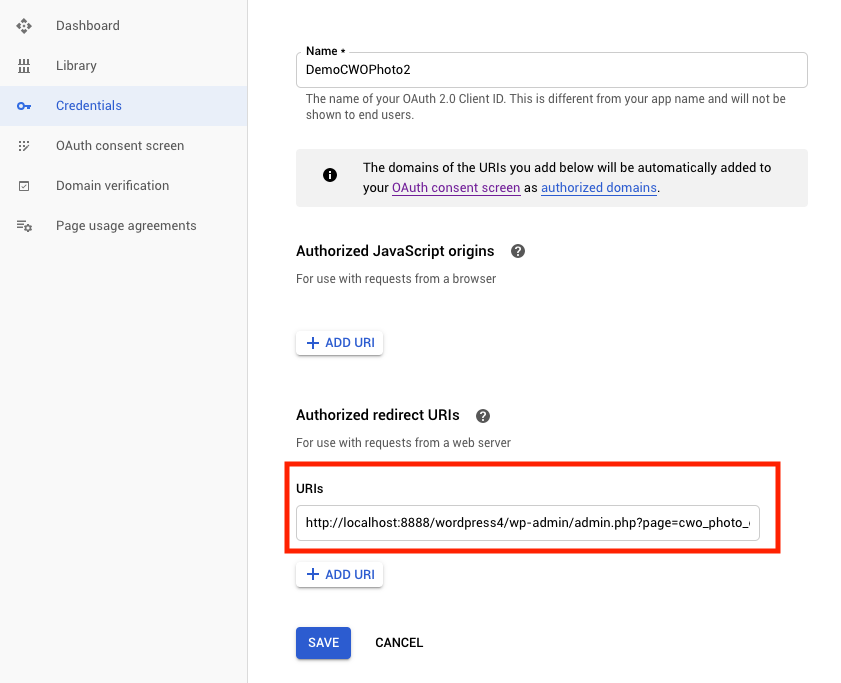
12- Do « Save »
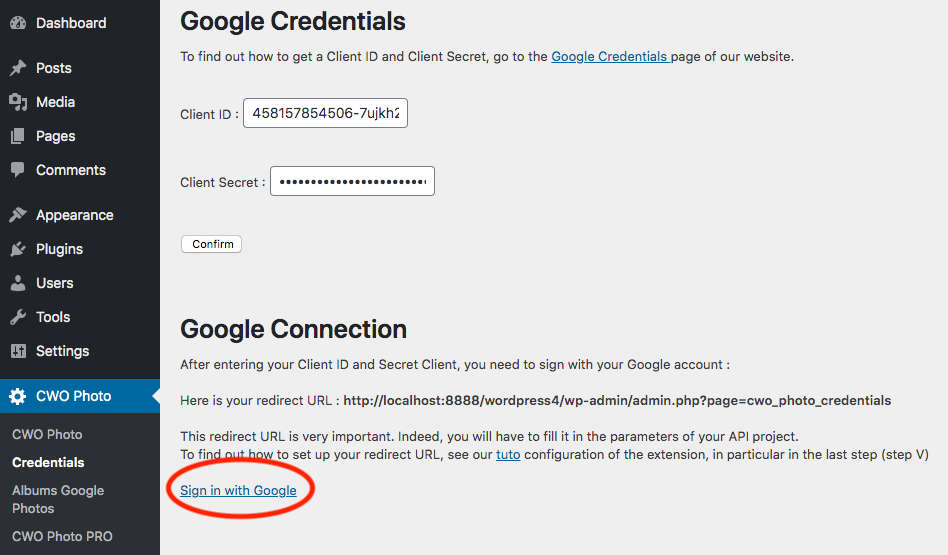
13- Then log in with Google on the plugin page
14- During you connection with Google, it is very important to authorize the plugin to have access to your photos in order to ensure a proper functioning
Everything is now ready and configured !
From now on, you can have access to your Google albums in the “Album Goole Photos” menu of the plugin.
How to find again my credentials ?
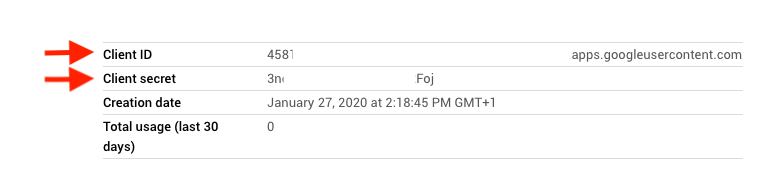
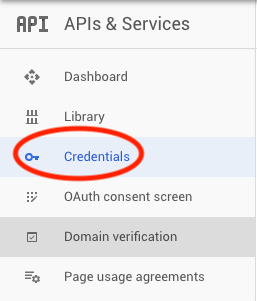
If for some reason you need to find your credentials again, go the the « Credentials » menu

1- Then click on the “Modify” button symbolized by a pen

2- You will be able to see your Client ID and you Client Secret as on the picture below